Mount Fury and Luna Peak from Mount Terror (July 24, '06)
Sometime the second time is the charm. This was one of those cases me. Last summer Sergio and I tried to climb Luna and Fury but weather turned against us and we only managed to get Luna. Sergio had made another attempt earlier this summer but weather once again became a factor, so I guess sometimes the 3rd time is the charm.
|
Mount Fury and Luna Peak from Mount Terror (July 24, '06) |
|
|
So there we were again at the Ross Lake dock waiting to pay our $35 dollars each way, up from last year to cover the higher cost of gas. We opted for a similar itinerary as last summer with the first night at Luna Camp and the second night at the Luna-Fury Col. See the Luna Peak report for more details on the boat trip and the approach route to the Luna-Fury Col. Aside from me leading the way across Access Creek too soon which led to dense brush the approach went without any unexpected difficulties.
|
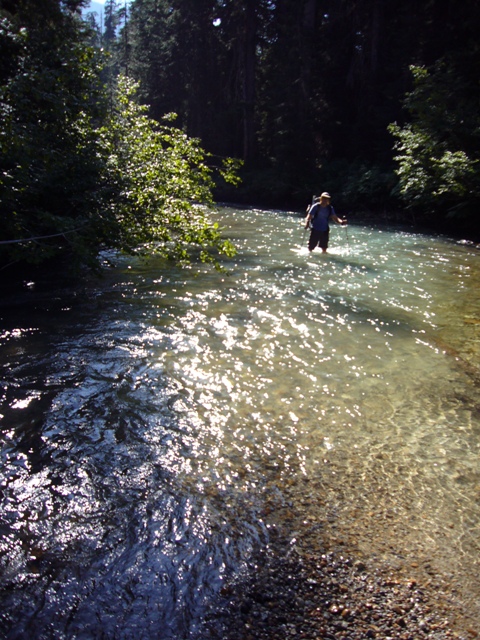
Fording Big Beaver Creek |
|
|
|
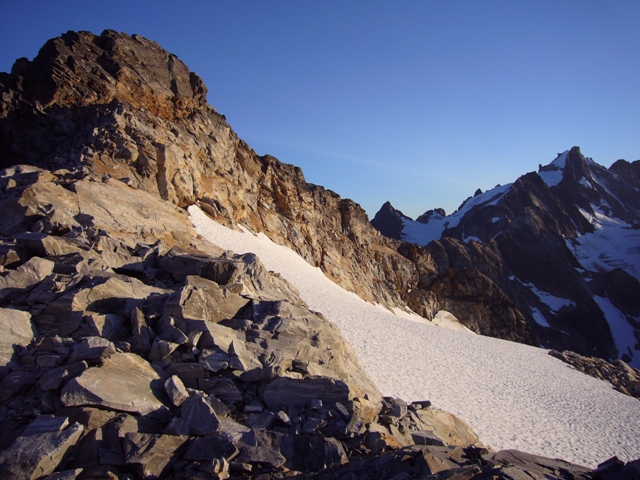
Mount Fury from the Luna-Fury Col |
|
|
|
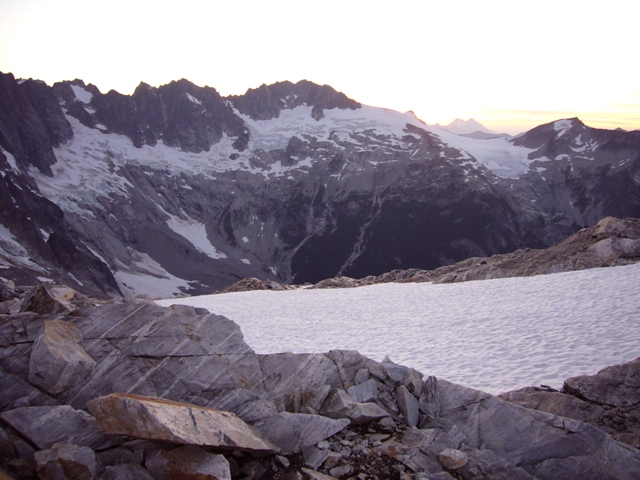
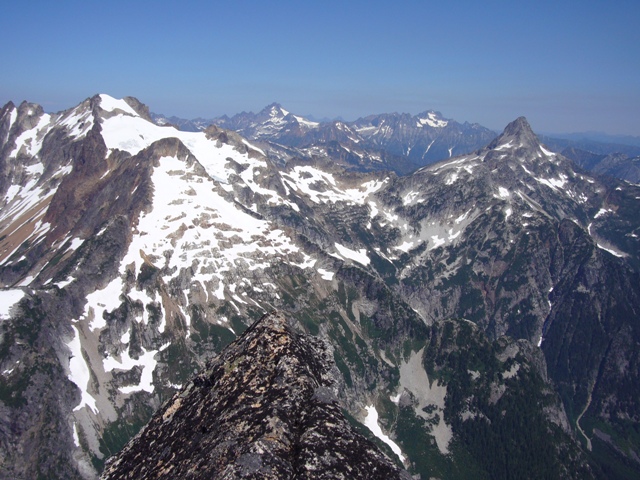
Luna Cirque from camp |
|
|
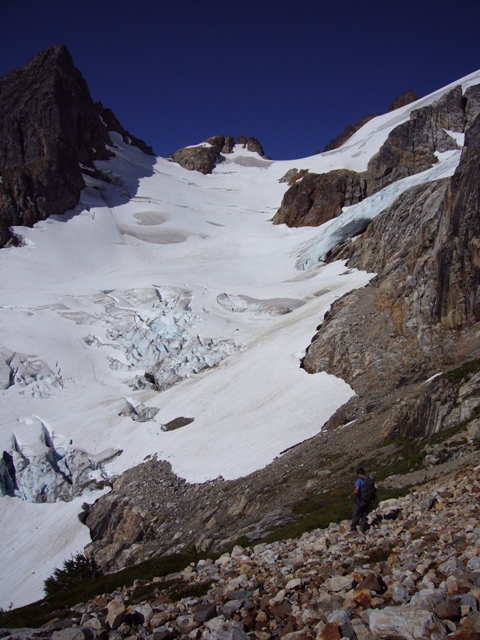
We left camp around 7:15AM in the morning and scrambled (class 3) to the obvious ledge above the col. The ledge is wide and offers no particular problems. Once across the ledge we descended the ridge then hiked to the top of the next ridge hump. The descent from this hump is by way of a loose ramp/gully feature followed by a descent down a loose gully to snow which was icy and we avoided it by staying in the moat to reach the next ridge saddle.
The next ridge hump offers the most technical rock difficulties on the route but in no more than 5.0 and was safely climbed without rope. After a couple more minor ups and downs and a couple short class 4 difficulties we reached a notch where we were able to traverse left then descend from the ridge to a rock and snow basin (c.6500’). Making an ascending traverse across the basin we crossed a gully on a reddish colored band of rock to gain a ledge (c.6600-6700') which was followed for a couple hundred yards to a steep scree and snow slope. After crossing this we were able to descend about 100’ to the SE glacier.
|
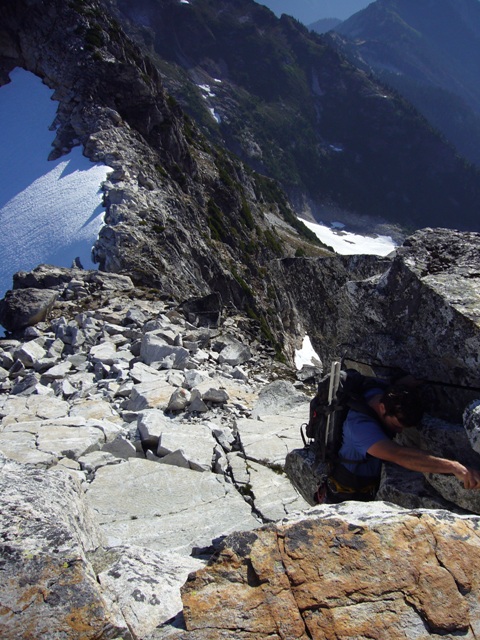
Sergio scrambling up the 5.0 step |
|
|
|
Descending to the SE glacier |
|
|
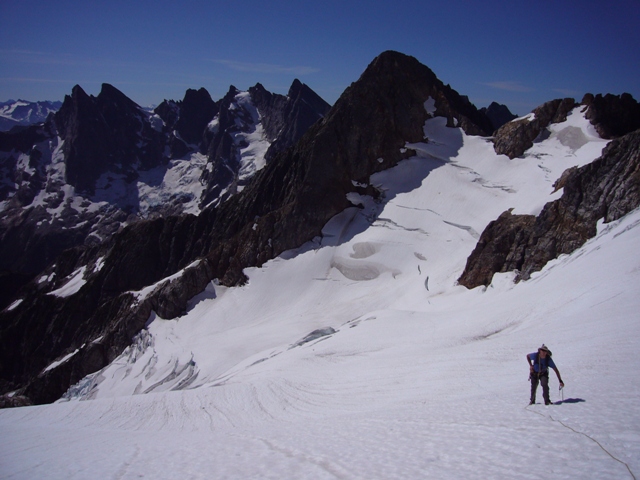
After roping up we started across the glacier. The first 300’ has some hanging ice above. Although none fell while we were crossing this section there was a lot of new debris in this area when we returned so moving quickly is advised. Once through this section we were able to turn north and ascend an unbroken section of the glacier which had a short section of 35-40 degree snow but was otherwise low angled and allows access to a large snow bench below the short cliff band on the SE face.
|
Ascending the SE glacier |
|
|
|
Approaching the top of the glacier |
|
|
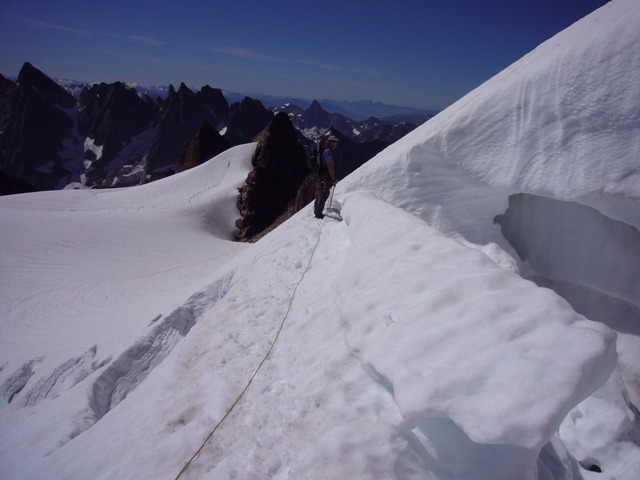
After crossing a snow bridge to gain a short snow arête we realized it could have been avoided by traversing below the arête and ascending the other side. The arête led to a short scree slope below the final 100-200 feet of 35-40 degree snow which was perfect for step kicking and leads to a final short snow arête that reaches the summit rocks. It took just under 5 hours to reach the summit from camp so we were in no real hurry to leave this spectacular vantage point in the middle of the Picket Range, particularly considering the suffering involved to finally get to the top of it.
|
The short steeper upper snow field |
|
|
|
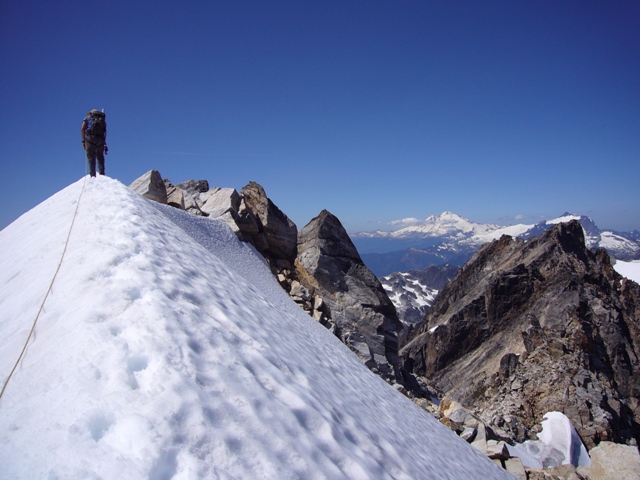
Sergio on the final arête |
|
|
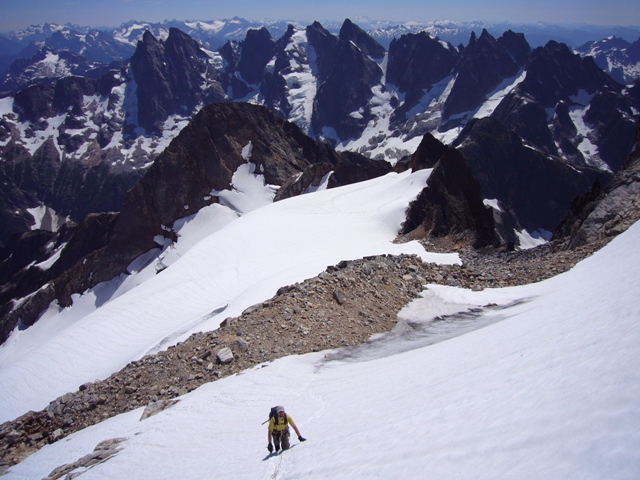
Making one rappel down the 5.0 section on the ridge the return to camp took about 4 hours. We camped for a second night at the col then in the following morning we hike all the way back to Big Beaver Camp/boat landing in about 7 hours, faster than we ever thought we would.
References:
Cascade Alpine Guide, Volume 3, 2nd Edition; Fred Beckey; Pages 111-113
Selected Climbs in the Cascases, Volume ; Jim Nelson and Peter Potterfield; Pages 201-206